Spot the broken spring
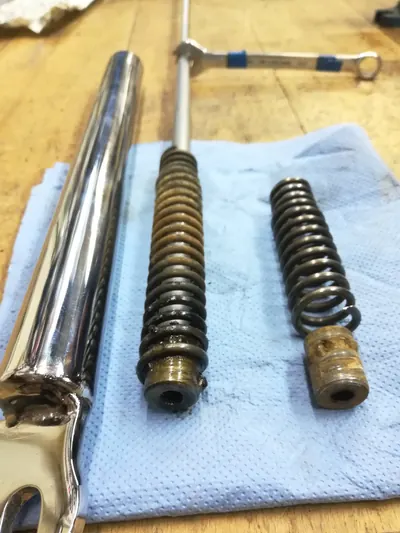
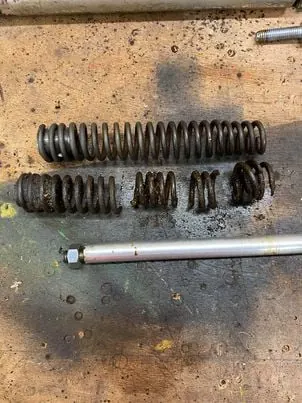
A soft front suspension is the first sign. Once the fork is taken apart, look down each fork leg: pieces of spring often come out, and the rest is stuck right at the bottom.
My Peugeot GT10 › Restoration · Fork, decals, storage box and seat
Restoration · Fork, decals, storage box and seat
Luggage rack, fork, mudguard, decals: the GT10 hides plenty of small details that change from one model to another. JayJay, an enthusiast from the community, helped me find my way, and he has the impossible-to-find parts remade. Further down: my storage box panels and my seat, made like new.
The details that change
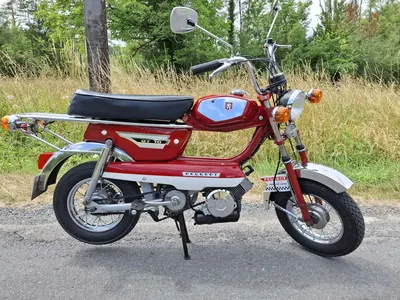
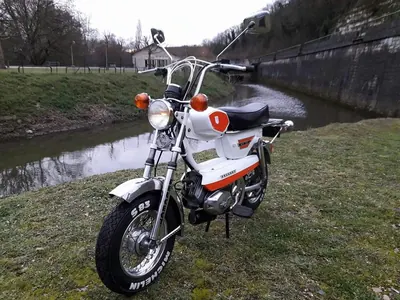
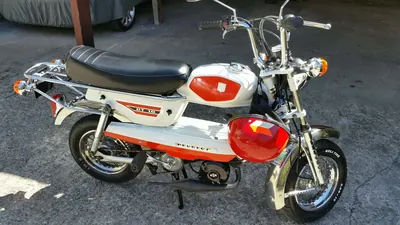
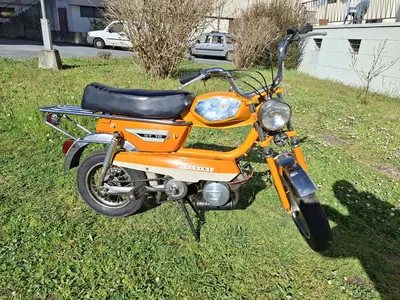
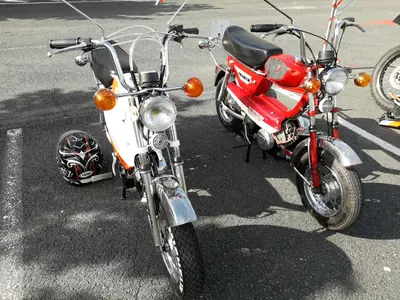
Before ordering a part, you need to know which GT10 you have in front of you: several frame parts changed during production, without any change to the model name.
The 1976 spare parts catalogue confirms it for the fork, with two different versions. Its exploded views are the best way to check a part.
Remade to measure
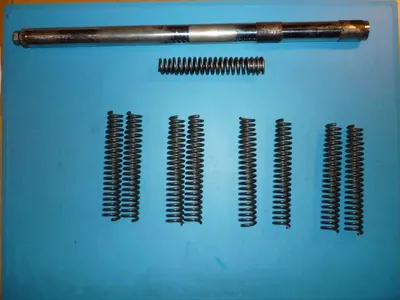
A GT10 fork that sinks without resistance often hides a broken spring at the bottom of the fork leg. After fifty years, it is very common, and new springs of the right size can't be found.
JayJay had some remade to measure, from the dimensions taken on a GT10 fork.
An enthusiast's method
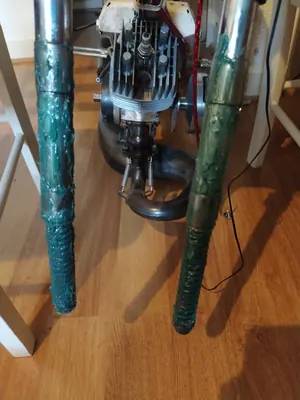
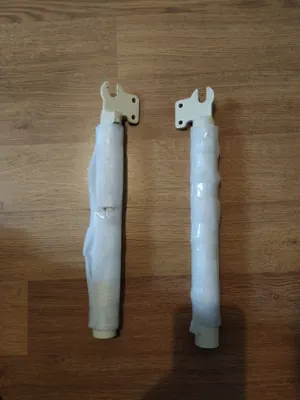
A soft front suspension is the first sign. Once the fork is taken apart, look down each fork leg: pieces of spring often come out, and the rest is stuck right at the bottom.
All you need is a threaded rod. At one end, lock a split, fanned-out washer between two nuts, smaller than the fork leg. At the other end, slide on a washer larger than the fork leg, then a nut.
Lower the small washer into the fork leg and turn the rod: it screws into the coils of the spring. As you tighten the top nut, the large washer bears on the fork leg and pulls the spring up.
All that's left is to put the fork back together with new springs of the right size. Above all, don't forget to put oil back in each fork leg before closing it up.
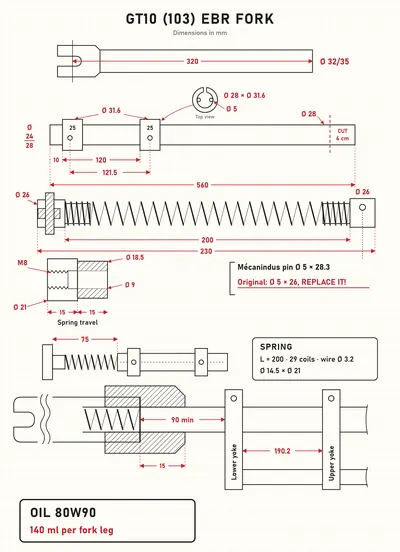
For a 103 EBR fork, all the dimensions, the oil and the pin are on the drawing in the next section.
An enthusiast's adaptation
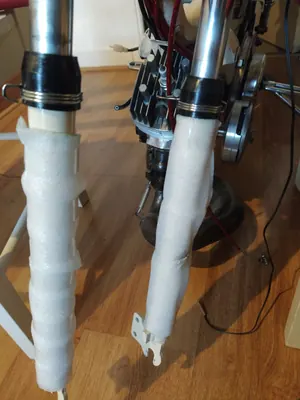
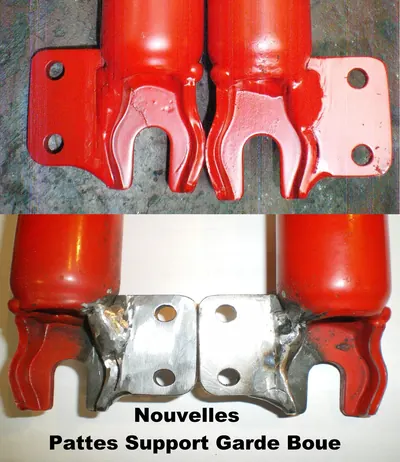
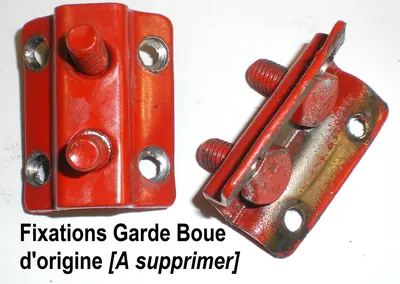
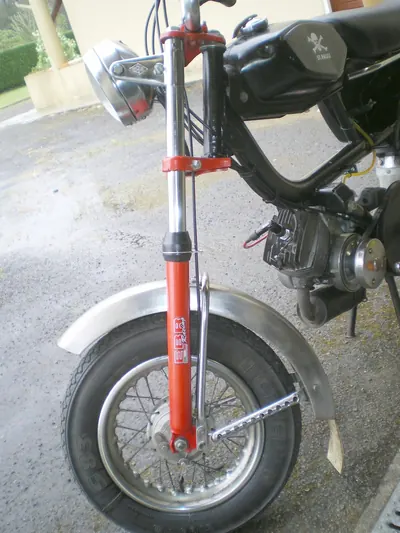
After an accident, an enthusiast looked for a way to replace the fork on their GT10. Their solution: adapting a Peugeot 103 fork with Ø 28 mm tubes. It also works when the original fork is too damaged. The GT10 already shares many parts with the 103, but the fork needs a bit of work.
The upside: 103 fork parts are still easy to find.
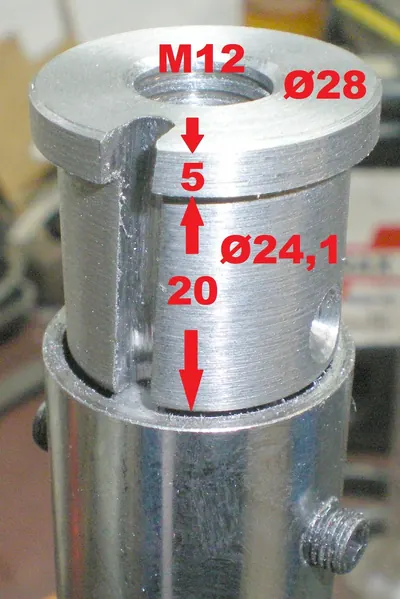
The only part you can't find: the plug at the top of each tube. You have to machine it yourself or have a machinist make it, using the dimensions in the photo.
When refitting: 140 ml of 80W90 oil per fork leg, and a Mécanindus pin, Ø 5 x 28.3 mm, instead of the original one (Ø 5 x 26 mm). All the dimensions are on the drawing.
Restored by me
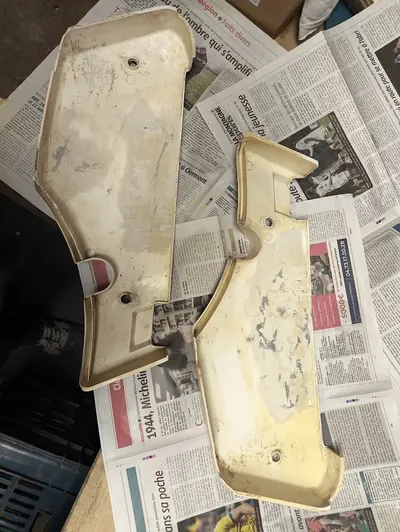
The two storage box panels of my GT10 had been through a lot: I drilled them myself when I was 12 (ah, youth…), and one of them was starting to split in two. Here is how I brought them back, step by step.
The result, on the moped, is in the years of my GT10.
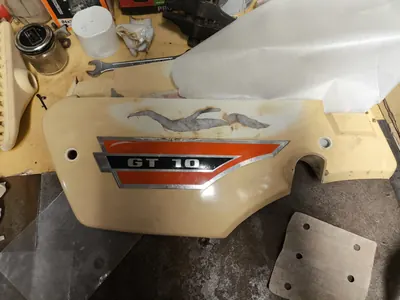
I start by carefully peeling off the 1972 stickers with a hair dryer. They came off without any trouble, proof of the quality of the time, and they served as templates for the new ones.
Then I fill the holes with PETG offcuts from 3D printing. I take the opportunity to add a reinforcement at the back, because one of the parts was splitting in two.
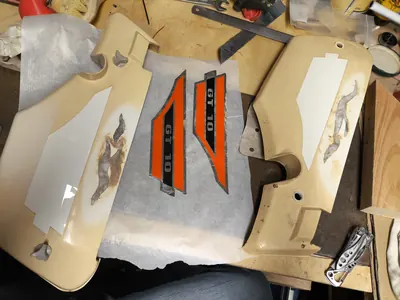
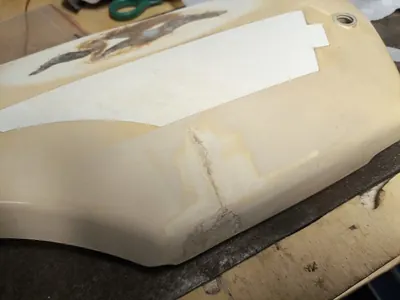
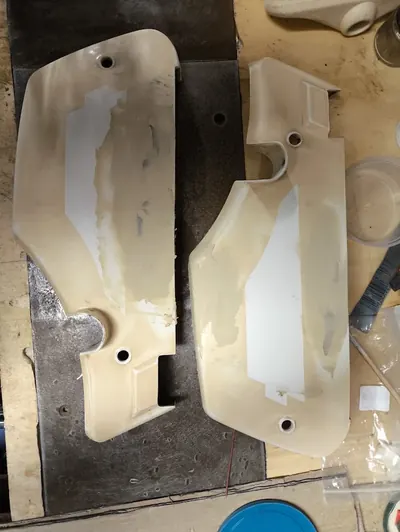
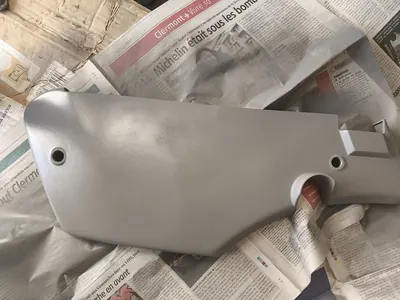
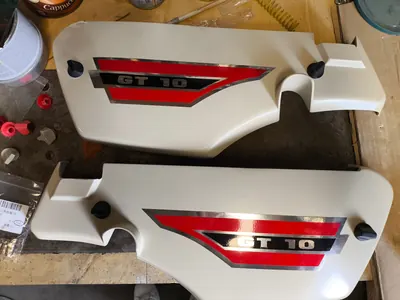
Then comes the classic but essential combo: a first sanding, filler, more sanding, a coat of primer, paint in the original colour (Peugeot 1164 Beige Céramique) and finally the clear coat.
I let the clear coat dry for 5 full days before applying the stickers.
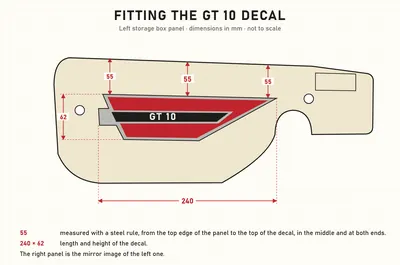
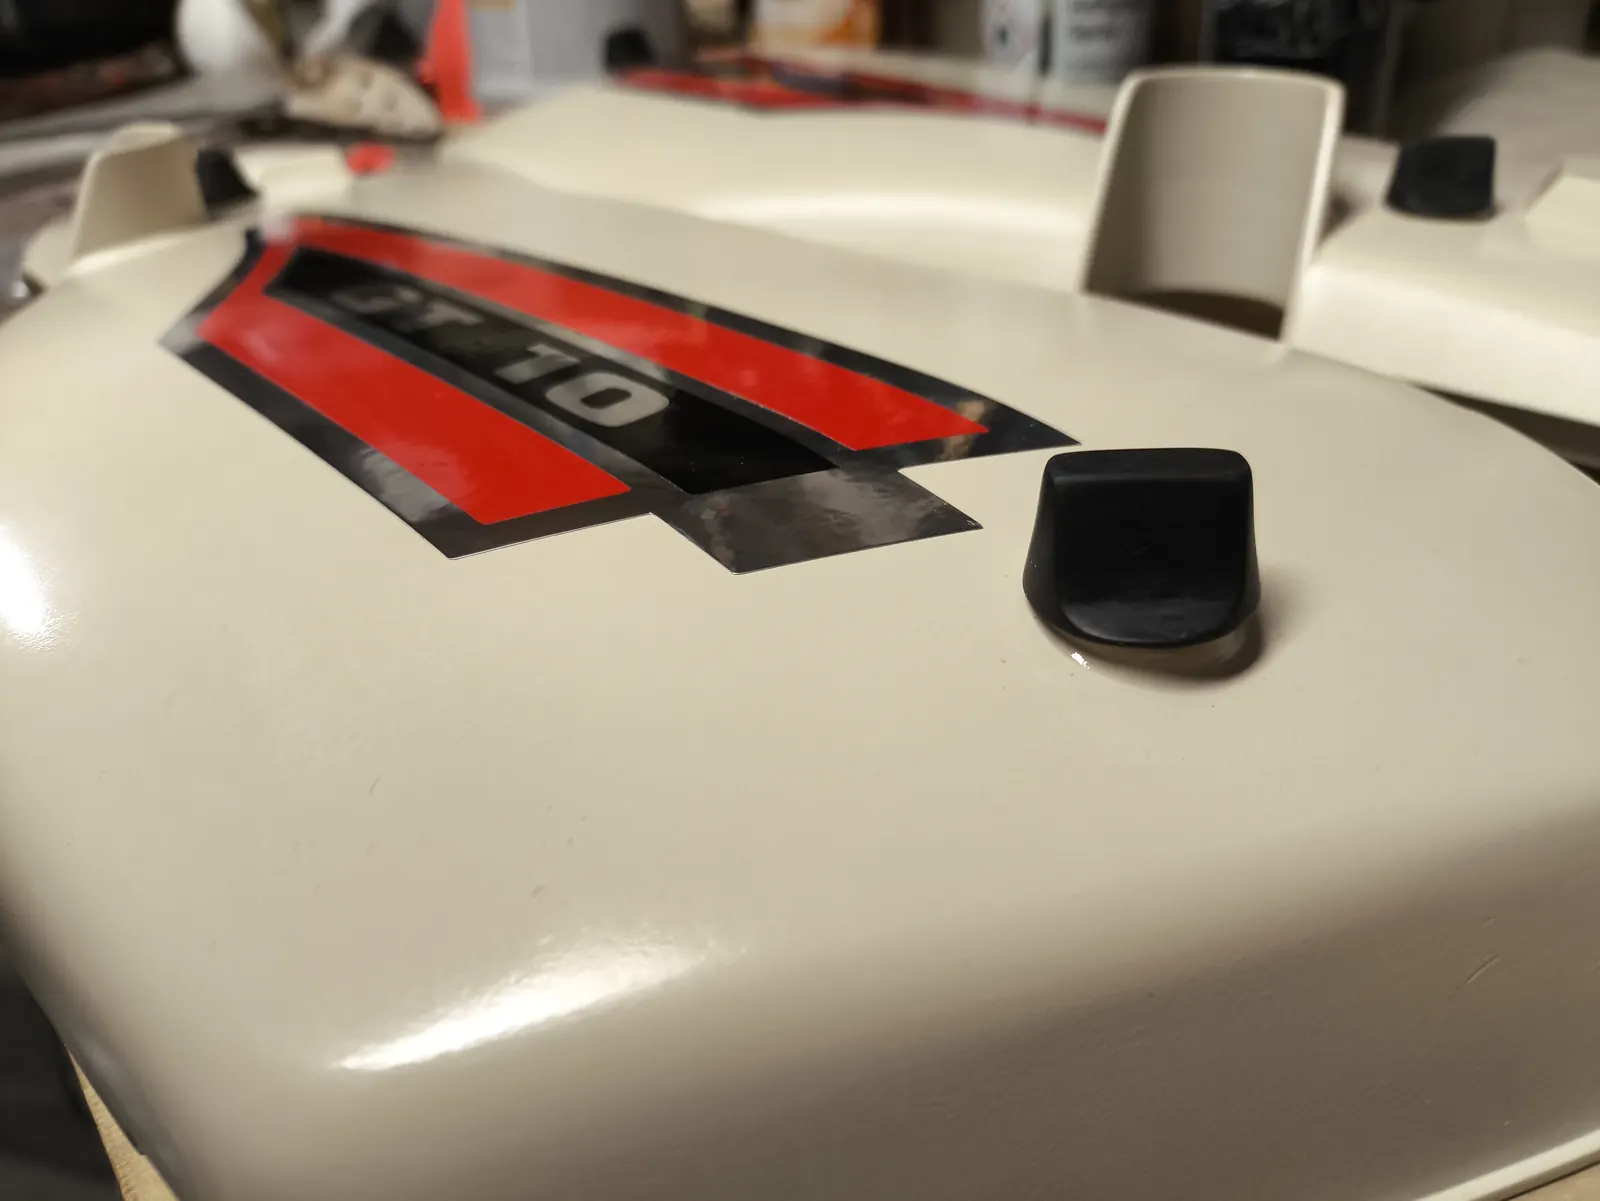
My neighbour, who makes and fits stickers, gave me a big hand: starting from the old ones, vectorising them was child's play. Not being a fan of the original orange-red, I chose a real bright red.
He also applied them, once the clear coat was fully dry.
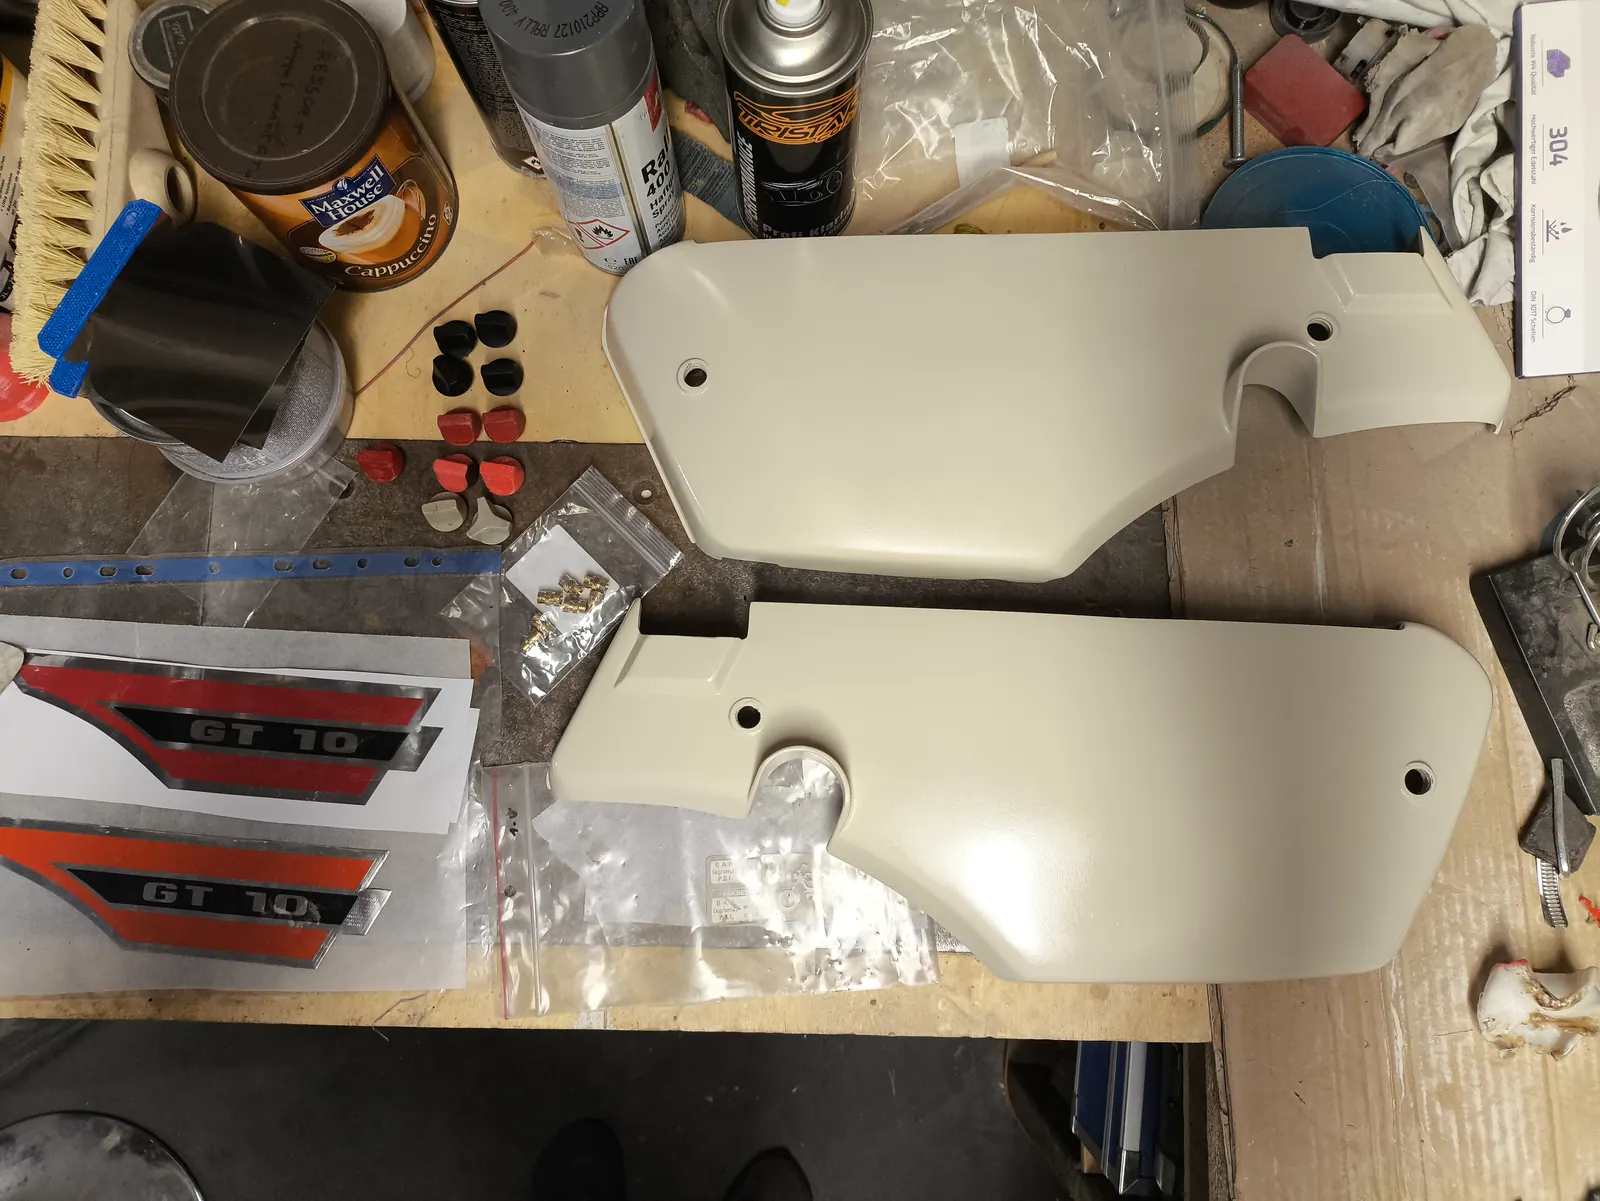
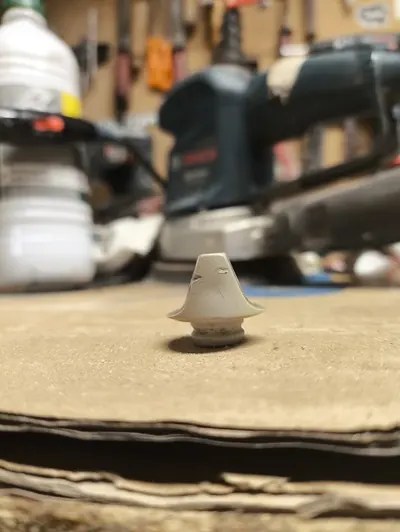
I was missing the fastening knobs. Calipers, 3D modelling, then printing in PETG to withstand water and heat, with threaded brass inserts (M6, 8 mm outside diameter, 12 mm high) set in hot with a soldering iron.
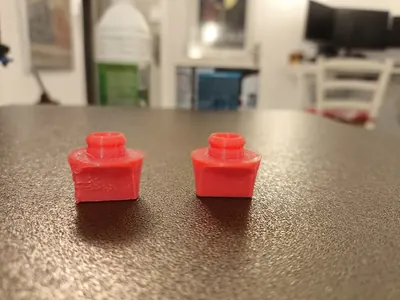
Part cooling matters a lot to get the overhang right: on these two red test prints, the difference is obvious.
I wanted to keep the raw material, tougher than paint: files, then 600, 1500 and 2000 grit sandpaper. With a little patience, you can no longer tell it was 3D-printed. The red of the test prints gave way to black, which matches the seat.
With the BLG-Sellerie cover
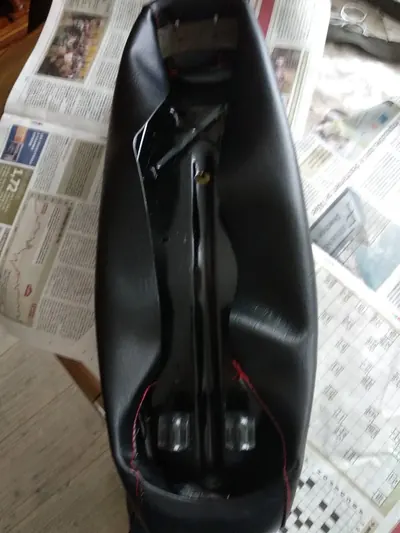
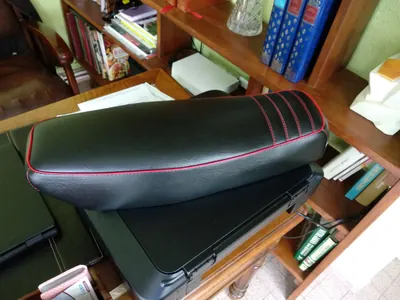
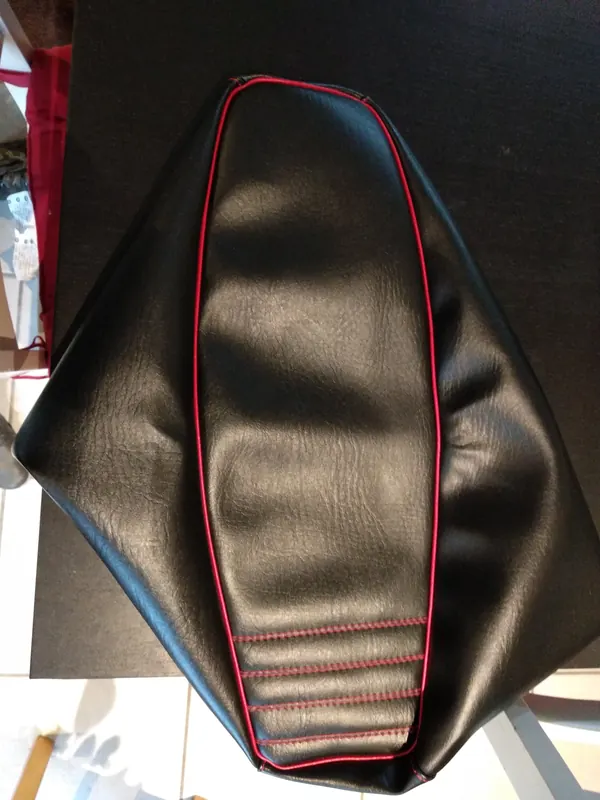
The original seat of my GT10 had seen better days. BLG-Sellerie supplied a new cover made for the GT10, in black leatherette with gorgeous red stitching. I fitted it myself.
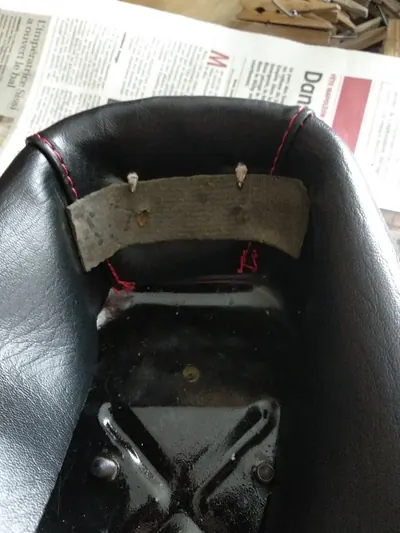
The cover is held under the seat base by folded-over spikes. I straighten them one by one, carefully: they are what will hold the new cover, so they must not break.
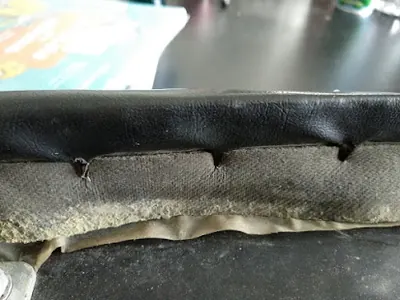
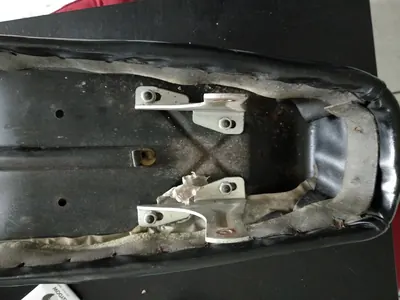
Once the cover is off, check the condition of the foam.
If it is in poor shape, BLG-Sellerie has made a tutorial on restoring it, using a Peugeot GT10 seat as the example.
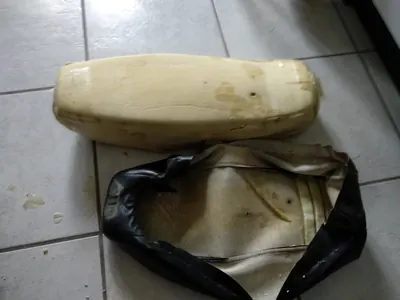
All that's left is to put it back together: pull the new cover on and draw it gently to stretch it well, before hooking it back onto the spikes.
Every decal of the GT10
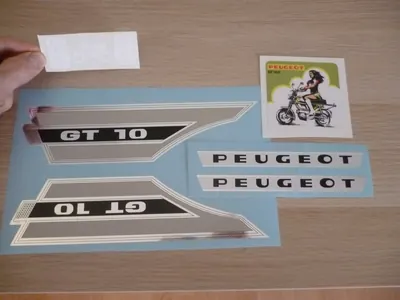
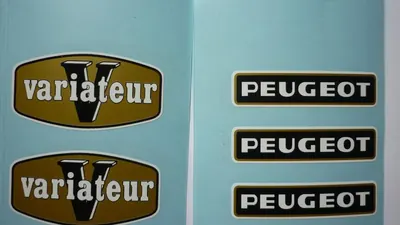
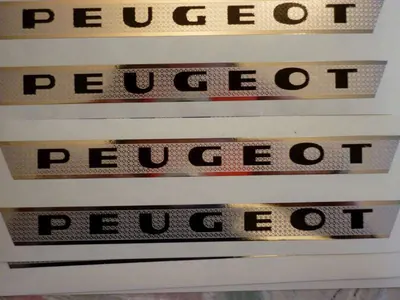
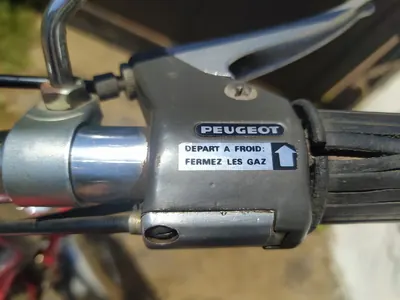
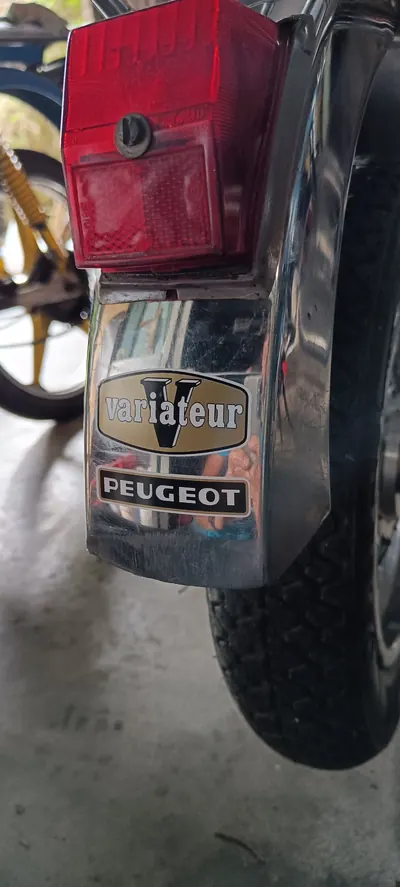
Good-quality original decals can no longer be found, and the ones that remain are often peeling or damaged. JayJay can supply every decal of the GT10, not necessarily as a kit, depending on what you are missing: GT 10 decals for the storage box panels, Peugeot logos, “variateur” plates and the “Départ à froid : fermez les gaz” (cold start: close the throttle) sticker on the throttle control.
To order them, contact JayJay via Facebook (Messenger).
The tyre pressure sticker, inside the storage box, is also free to download on the site, ready to print.
An enthusiast from the GT10 community
JayJay is an enthusiast and a collector: he owns an army of mopeds, including a few Peugeot GT10s. He helped me a lot with this page, with his advice and his how-tos on the fork, the decals and the differences between the models. A big thank you to him!
A GT10 expert
Antony created the Peugeot GT10 Facebook group, which I have been part of since 2018. He knows the GT10 inside out, and he restores GT10s: if you want yours restored, you can call on him.
He has known JayJay for a long time: between them, they know a great deal about the GT10 and its history. Antony is the one who told me that the GT10 C phase 2, with its front indicators above the headlight, appeared at the end of 1975. There are few of them, and their original parts are hard to find.
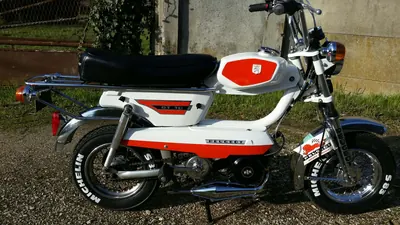
Photos: Antony